Using ollas is one of the simplest ways to water a vegetable garden without standing outside every day with a hose. These unglazed clay pots slowly release water underground, directly to plant roots. This method has been used for centuries and is now becoming popular again among home gardeners and small growers.
Ollas are eco friendly, reusable, and highly efficient. They help reduce water waste, lower plant stress during hot weather, and can even improve harvest quality. In this complete guide, you will learn what ollas are, their history, their benefits, and exactly how to make your own at home step by step.
What Are Ollas?
Ollas, pronounced “oy-yahs,” are simple unglazed terracotta pots that are buried in soil near a plant’s roots. Only the small top opening remains above the ground.
You fill the pot with water, and because terracotta clay is naturally porous, the water slowly seeps through the walls of the pot. This creates steady underground moisture right where plants need it most. Instead of soaking the surface, the water moves directly toward the roots.
History of Ollas in Gardening
Ollas are not a modern invention. They have been used for thousands of years in dry regions across the world. Ancient civilizations in China, Iran, and parts of the Americas used clay vessels both for cooking and irrigation.
In Mexico, indigenous communities have used ollas for irrigation since pre-Columbian times. Even today, many small farmers continue this practice.
Recently, gardeners around the world have returned to this traditional watering method because it conserves water and supports sustainable gardening.
Advantages of Using Ollas for Irrigation
Reduced Water Stress
During hot summer weather, water evaporates quickly from soil and leaves. Plants, especially those in containers, can suffer from stress.
Because ollas store water underground, it stays protected from direct sun. The slow release provides consistent moisture at root level. This helps plants grow stronger and healthier.
Depending on the size of the olla, you may only need to refill it every other day or even less often. Plants also avoid overwatering, which can cause root rot and disease.
Low Maintenance
Once installed, ollas require very little attention. You simply check and refill them as needed. This makes them perfect for gardeners who cannot water daily.
Increased Yields
Steady moisture improves plant growth. Many gardeners notice better vegetable quality and higher production when using ollas.
Environmentally Friendly
Ollas are made from natural clay and can last for many years. The homemade ollas shown in the original article photos have lasted over five years, even after cold winters in storage.
Water Conservation
Because water only seeps when the surrounding soil is dry, there is minimal waste. You reduce evaporation and runoff compared to traditional watering.
How to Make Homemade Ollas
Buying artisan ollas can be expensive. Since they stay buried underground, it may not make sense to spend $20 to $30 on each one. Fortunately, you can make your own using basic terracotta pots.
Overview
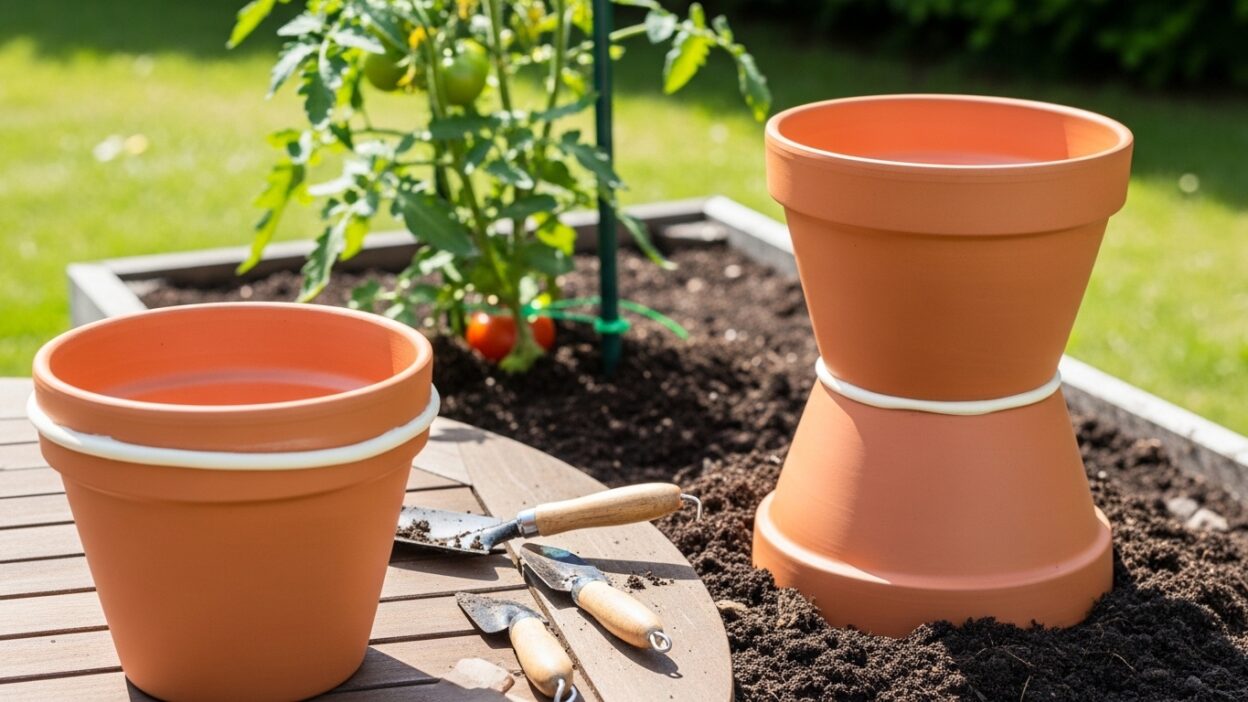
To create a DIY olla, you will glue two unglazed terracotta pots together, rim to rim. This forms one larger water chamber.
One drainage hole will be sealed completely. The other hole will stay open so you can fill the olla with water.
The sealed end goes into the ground. The open end remains above soil level for refilling.
Why Use Two Pots?
Using two pots creates a deeper water reservoir. The water chamber reaches much further into the soil compared to using a single pot.
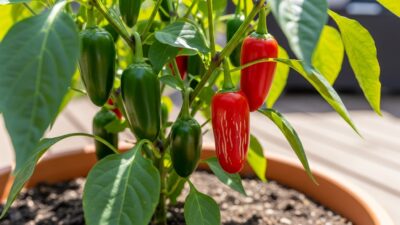
This is especially useful for plants with large root systems like tomatoes, peppers, eggplants, basil, and parsley.
A double-pot design also holds more water, which means fewer refills.
Equipment You’ll Need
• Two unglazed, unpainted terracotta pots with rims that sit evenly together
• Waterproof silicone sealant that resists cracking
• Optional drill or Dremel tool to widen the fill hole
• Funnel (if not widening the hole)
• Paper towel or rag
• A cover for the top opening
Join the Two Pots Together
First, make sure both rims are completely dry and clean.
Apply a thick, continuous bead of silicone around the rim of one pot. Press the second pot on top, rim to rim. Twist slightly to align them evenly.
Use a rag or paper towel to smooth excess silicone around the seam to form a tight seal. Allow the silicone to dry fully according to package instructions.
Seal One of the Drainage Holes
Choose one bottom hole and completely seal it using a thick layer of silicone. Make sure the silicone overlaps the edges so there are no gaps.
Let it dry thoroughly.
Test the Seals
Fill the olla with water and let it sit upright for about an hour.
Check the seam and sealed hole for leaks. Some darkening of the clay is normal, as water naturally seeps through porous terracotta. That is how it works.
However, water should not leak from the glued seam or sealed hole. If leaks appear, dry it and apply more silicone.
Optional: Widen the Fill Hole
If you have a Dremel or drill, you can widen the top hole slightly to make filling easier. If not, simply use a funnel that fits the opening.
Make Sure the Cover Fits Securely
The top opening must be covered to reduce evaporation and keep insects and dirt out.
You can use:
• A matching terracotta saucer
• A flat stone
• A plastic lid weighted down
• A trimmed plastic container
How to Use Homemade Ollas
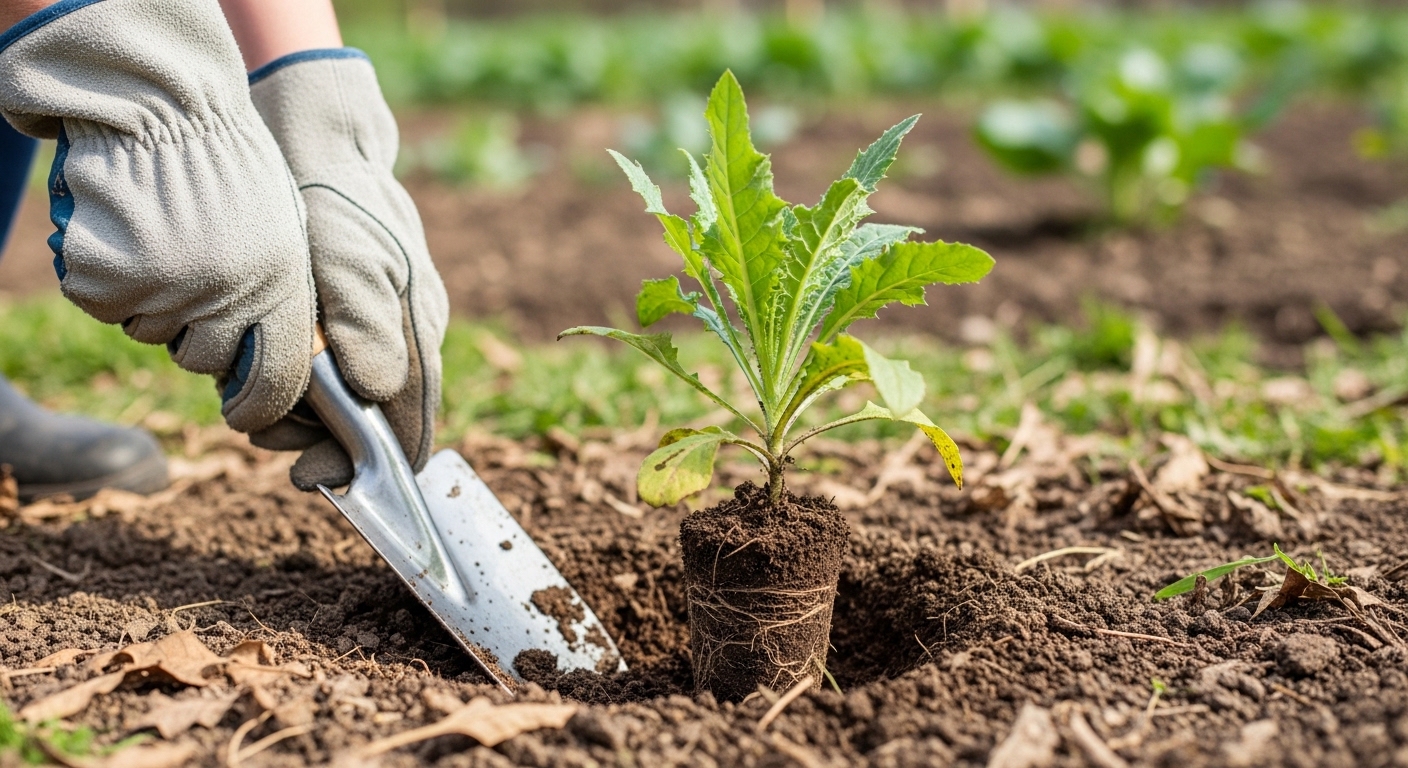
Place the olla close to the plant. Choose a size that matches the plant’s root system.
Bury the olla at least two thirds to three quarters of its length. Leave only the top opening exposed.
It is best to install the olla when planting your vegetable. After burying it, fill with water.
Refill frequency depends on weather. In hot climates or container gardens, you may need to refill every other day. In cooler conditions, less often.
There is no harm in keeping the olla filled.
Frequently Asked Questions About Ollas
Do Ollas Actually Work?
Yes, they work very well, even for thirsty plants like tomatoes and peppers. Roots naturally grow toward the moisture source and wrap around the pot.
How Do I Fill the Olla?
Pour water directly into the opening or use a funnel. Refill regularly during hot and dry weather.
Can Ollas Be Used for All Plants?
They work for most vegetables, herbs, and flowers. They are especially useful for large fruiting plants. For long crop rows like carrots or onions, they may not be practical due to quantity needed.
How Deep Should I Bury the Olla?
Bury it about two thirds to three quarters into the soil. Make sure it is deep enough to reach the root zone.
Can Ollas Be Used in Humid Areas?
Yes. Humidity does not affect performance. If the soil is dry, water will seep out. During rainy periods, less water will be released.
Can Ollas Stay in the Ground During Winter?
If your soil does not freeze, they can remain in place. In freezing climates, it is better to remove and store them to prevent cracking.
Can Ollas Be Used in Container Gardening?
Absolutely. They are especially helpful in containers where soil dries out quickly. Many gardeners reduce watering to every third or fourth day when using ollas.
Can I Use Glue Instead of Silicone?
Glue can work temporarily, but silicone lasts longer and handles temperature changes better. Always test for leaks each season.
Ollas are a simple but powerful tool for gardeners who want to save time and water. With just two clay pots and some silicone, you can build a reliable underground irrigation system that keeps your plants healthy all season.